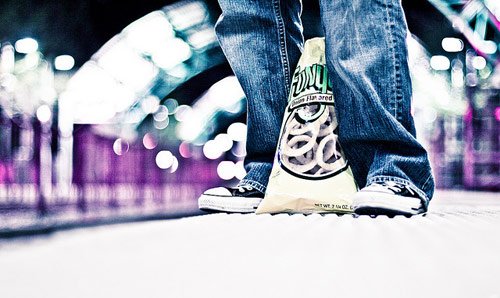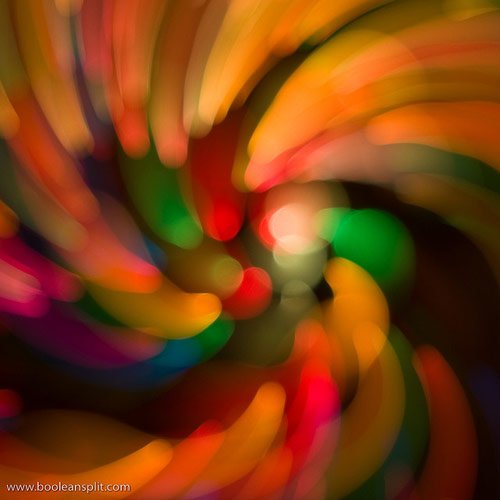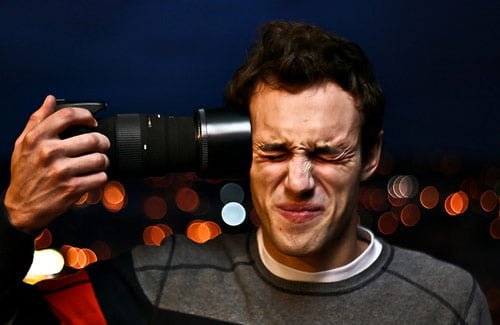
Bokeh refers to the look and feel of out-of-focus areas in a photograph. Done correctly, a bokeh serves as an outstanding background enhancement for a foreground subject. A bokeh can even be the subject matter. In this article, we will provide our favorite methods for creating beautiful bokeh.
Bokeh comes from the Japanese word Boke, which loosely translates to the amount of blur or fuzziness. In photography, we use bokeh as a description for the pleasing quality of blurred background.
At its best, bokeh provides a captivating blur of color and shape which compliments a foreground subject. Colors can be striking or subtle, and shapes can be obvious or unrecognizable. How we compose the bokeh is an artistic decision. But in order for us to get a suitable blur, we need to ensure we are using the proper camera settings and equipment. Which brings us to our first tip.
Shoot with a wide-open aperture
A low f-stop of f1.4-f2.8 is what you are after. This decreases the depth of field and throws the background out of focus to as much of a degree as your lens will allow.
You can decrease the depth of field by lens choice too. Bryan Peterson demonstrated this in his excellent book Understanding Exposure. Peterson likes to use a large zoom lens for creating pleasing background bokeh. Although I own a 50mm f1.8 Canon lens, I find that my 100mm f2.8 Canon macro does a better job throwing the background out of focus.
Do not automatically strive for the lowest aperture available. The amount of blur is an artistic choice, and you will often find that maintaining better shape and definition in the background makes for a more pleasing image.
Subject to Background Distance
Remember that each lens and its corresponding aperture setting has a limit to its depth of field. Creating a stronger background blur can be as simple as ensuring the subject is moved forward toward the camera, or the camera is moved toward the subject.
I prefer to use a lens with 100mm or more reach and to get as close to the subject as I can while still maintaining sharp focus and good composition. Just keep in mind the advice from the previous section that a little less blur and more definition in the background might be preferable.
Dazzling Background Lights
Popular among photographers is throwing background lights out of focus. Spectacular background bokeh comprised of balls of light can make an otherwise ordinary subject pop with color and excitement.
City lights and Christmas lights are very popular for background bokeh. But any light can be used to create a spectacular bokeh.
We can control the size of the balls of light by changing the distance between the camera and the background lights. Increasing the distance blurs the background lights to a larger degree while increasing their sizes.
Custom Bokeh Shapes
You can create virtually any shape for a bokeh of background lights. Using black paper affixed to the end of your lens, any shape cut out in the center will control the shape of the background light bursts. The shape should be a small cutout, perhaps the size of a penny.
This bokeh is pleasing and sometimes spectacular. But they are also overused. The “Wow” factor has greatly diminished as more and more photographers have used this effect. However, having the knowledge that you can control the shape of the light via this method is an important tool to keep in your photography toolbox. Be creative. Go for more subtle effects.
Simplifying Bokeh

As bokeh is often taken to the extreme by many beginning photographers, I often find the most pleasing bokeh to be simple complementary backgrounds that enhance the subject. These backgrounds do not get in the way of the subject or become the point of interest. Rather they help the true subject of the photo pop off the screen.
An example of this is an image I took of a ripening blackberry plant. I used a 100mm macro lens for the photo and waited until the warm rays of the setting sun were splashing across the grass in the background. I exposed for the background, then bounced enough light off the blackberry fruit to properly expose them.
The result is a very soothing image. If I had photographed the same plant with a different background, I don’t think it would have worked very well. The pleasing blur of green in the background provides a perfect backdrop for the foreground reds.
Summary
Creating a bokeh is a matter of throwing the background out of focus. We control how much the background is thrown out of focus by adjusting the distance between the camera and background, the distance between the subject and background, aperture, and even choice of lens.
The amount of shape in the background is an artistic decision. We should not automatically assume that the best choice is the lowest depth of the field. Experiment with different aperture settings. And keep shooting!

