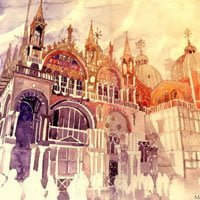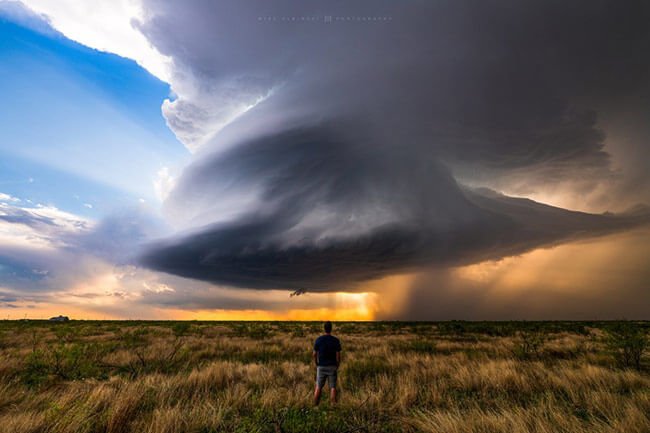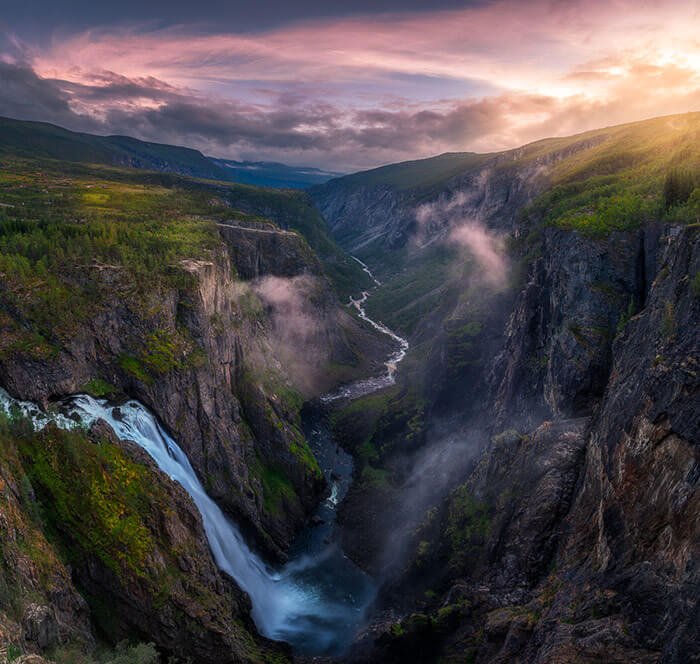
There are a variety of cool effects that you can achieve when you stick your DSLR camera into bulb mode, (shortened to just B on many digital cameras) but one of the coolest is known as painting with light. This simple technique can produce some truly amazing images such as these:
If you’re wondering at this point what ‘bulb mode’ is I’ll explain. It’s a setting on a digital camera that allows you to keep the shutter open for as long as the shutter release button is held down. The bulb mode is primarily only ever used in the dark to create really long exposures to blur slow moving lights and capture things such as star trails or fireworks. But one of my favourite things to use the bulb mode for is painting with light.
Light Painting Examples
To have a go at this technique you’ll need a few items of equipment. These are:
- A DSLR with a bulb (B) setting
- A tripod
- A remote shutter release
- A controllable light source (such as a small torch)
- A stopwatch or timer (not essential but useful)
Step 1.
Put your camera in bulb mode. If you DSLR doesn’t seem to have a bulb mode, try setting it to manual and scrolling to the longest shutter speed you have. You may find that the last shutter speed available is bulb. As each digital camera is different, if you still can’t find it, consult your cameras user manual.
Step 2.
Choose a fairly small aperture to ensure that you have a decent amount of depth of field in your shot. This can be adjusted and experimented with to try and gain different effects but try starting with an aperture of F11 and go from there.
Step 3.
Set your DSLR firmly on your tripod, point it at your subject and compose your shot.
Step 4.
Using the remote shutter release open the shutter on the camera and, if you have one, start the stopwatch. If you don’t have a stopwatch you could also just count in your head or count out loud. Using a remote release means you don’t have to touch the camera at all during the exposure which will minimise any camera shake that could effect the sharpness of the final photograph.
Step 5.
Straight away, turn on the torch and start lighting up your subject. You could try drawing round the edges of the subject, writing a message or waving the torch at the background. All of these will give very different but interesting effects. Experiment with a few different ideas and see which you like the best.
Step 6.
Once you have finished lighting up your subject close the shutter using the remote release and stop the stopwatch (or stop counting). Make a note of how long the exposure was and the aperture you used and take a look at your image in the back of the camera. When using the bulb mode it can be a little hit and miss to get the exposure correct so if you find your image is too dark then add an extra 10 seconds to your next exposure. If it is too light take 10 seconds off. Experiment this way until you find the correct exposure time/aperture.
Step 7.
Get creative. This technique can be used in all sorts of ways so you could try a variety of subjects from small to huge, or try changing the light source and use a sparkler or a glow stick in place of a torch. Use your imagination and produce some truly unique and breathtaking shots.


